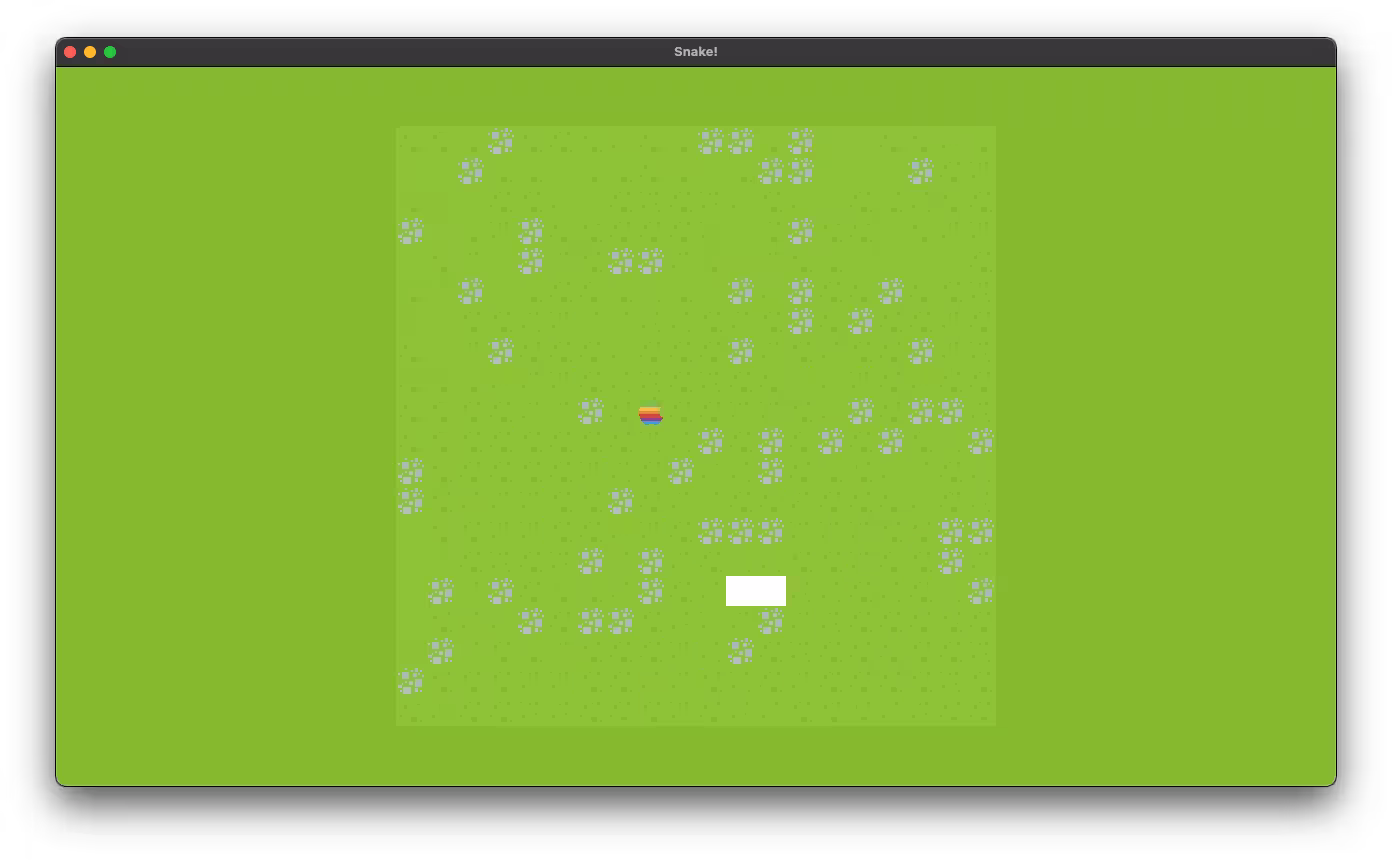
Snake with colored blocks is great, but we can make the game look significantly better if we use pixel art from itch.io or our own.
While Bevy can handle many different types of assets through the AssetServer, manually calling .load for each asset has two main drawbacks:
- It scatters our assets across the game, making it harder to update or change them
- If an asset doesn’t have a strong handle referencing it, it will unload. This can cause some unnecessary loading and unloading of our textures.
Add bevy_asset_loader to manage the loading of our images and other assets.
cargo add bevy_asset_loader
In Cargo.toml make sure you’ve enabled the 2d feature for bevy_asset_loader so that we can use it to set up TextureAtlas.
bevy_asset_loader = { version = "0.10.0", features = ["2d"] }
In lib.rs create a new submodule named assets and create assets.rs.
pub mod assets;
pub mod board;
pub mod colors;
pub mod controls;
pub mod food;
pub mod snake;
pub mod ui;
In assets.rs we’ll set up all of our image assets now even though we won’t use some of them until later on.
We can initialize our ImageAssets struct using a Bevy Plugin.
use bevy::prelude::*;
use bevy_asset_loader::{
    AssetCollection, AssetCollectionApp,
};

pub struct AssetsPlugin;

impl Plugin for AssetsPlugin {
    fn build(&self, app: &mut App) {
        app.init_collection::<ImageAssets>();
    }
}
Don’t forget to add the plugin to the app in main.rs.
.add_plugins(DefaultPlugins)
.add_plugin(ControlsPlugin)
.add_plugin(FoodPlugin)
.add_plugin(UiPlugin)
.add_plugin(AssetsPlugin)
Back in assets.rs we can set up all of the images we want to load. We need to derive AssetCollection on our new ImageAssets struct so that bevy_asset_loader will be able to work with the assets we define.
For regular images we use the asset macro to specify the path the image is at. We also specify the type of the handle, Handle<Image>.
For spritesheets, we can define each sheet using the texture_atlas argument to the asset macro.
Each spritesheet gets a type of Handle<TextureAtlas>.
A TextureAtlas is a spritesheet made up of a single image cut up into tiles like a grid. The grass.png image is a spritesheet with 3 tiles in it side by side. The tiles are each 16px by 16px squares, making the entire image 48px wide and 16px tall.
The macro takes care of cutting up the image into sprites for us.
#[derive(AssetCollection)]
pub struct ImageAssets {
    #[asset(path = "apple.png")]
    pub apple: Handle<Image>,
    #[asset(path = "green_panel.png")]
    pub green_panel: Handle<Image>,
    #[asset(path = "blue_button09.png")]
    pub blue_button09: Handle<Image>,
    #[asset(path = "blue_button10.png")]
    pub blue_button10: Handle<Image>,
    #[asset(path = "grey_box.png")]
    pub box_unchecked: Handle<Image>,
    #[asset(path = "green_boxCheckmark.png")]
    pub box_checked: Handle<Image>,
    #[asset(texture_atlas(
        tile_size_x = 16.,
        tile_size_y = 16.,
        columns = 3,
        rows = 1,
        padding_x = 0.,
        padding_y = 0.
    ))]
    #[asset(path = "grass.png")]
    pub grass: Handle<TextureAtlas>,
    #[asset(texture_atlas(
        tile_size_x = 136.,
        tile_size_y = 136.,
        columns = 4,
        rows = 30,
        padding_x = 0.,
        padding_y = 0.
    ))]
    #[asset(path = "snake_sprites.png")]
    pub snake: Handle<TextureAtlas>,
}
Now we can start using the textures to replace blocky squares of color with pixel art!
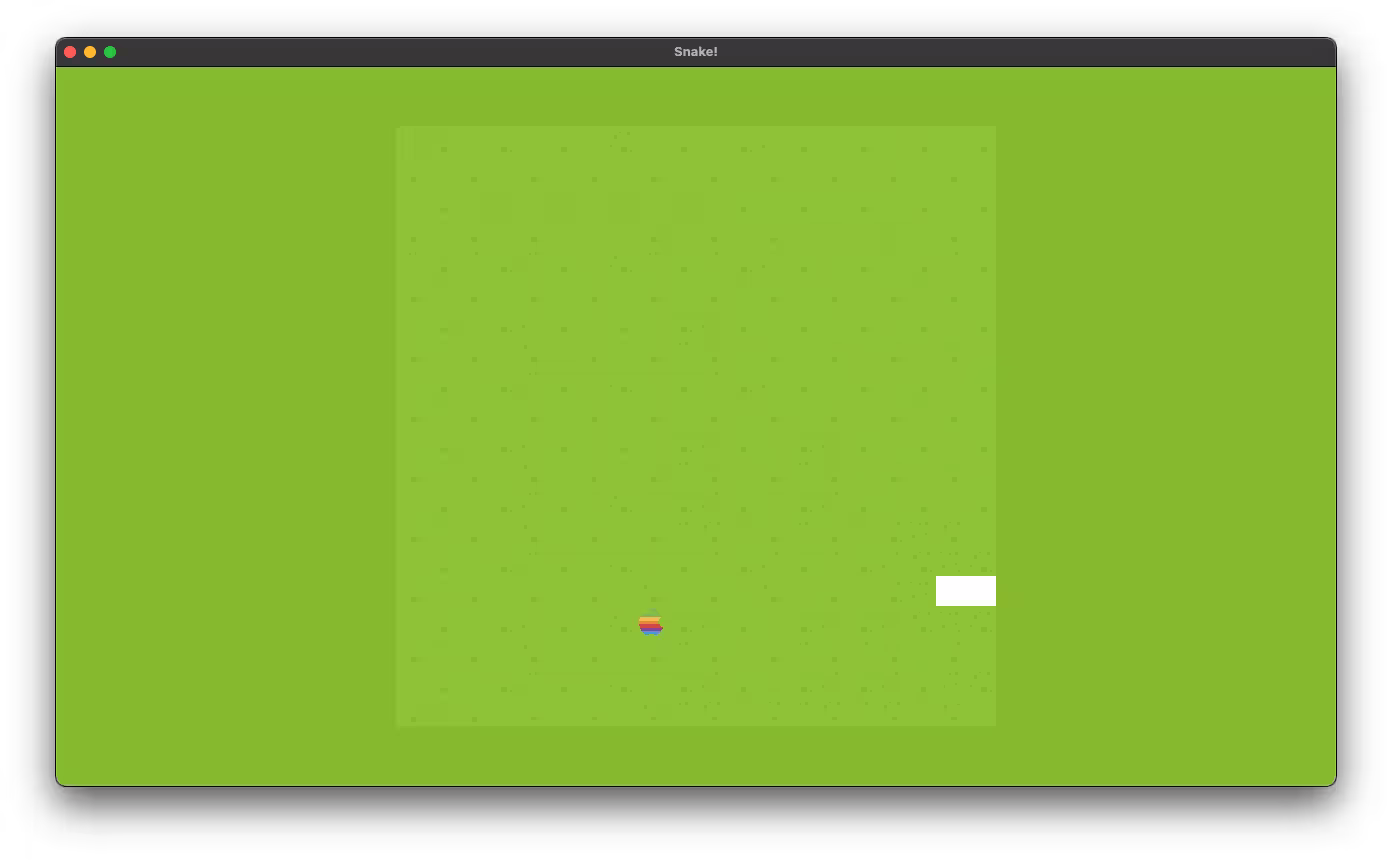
The apple
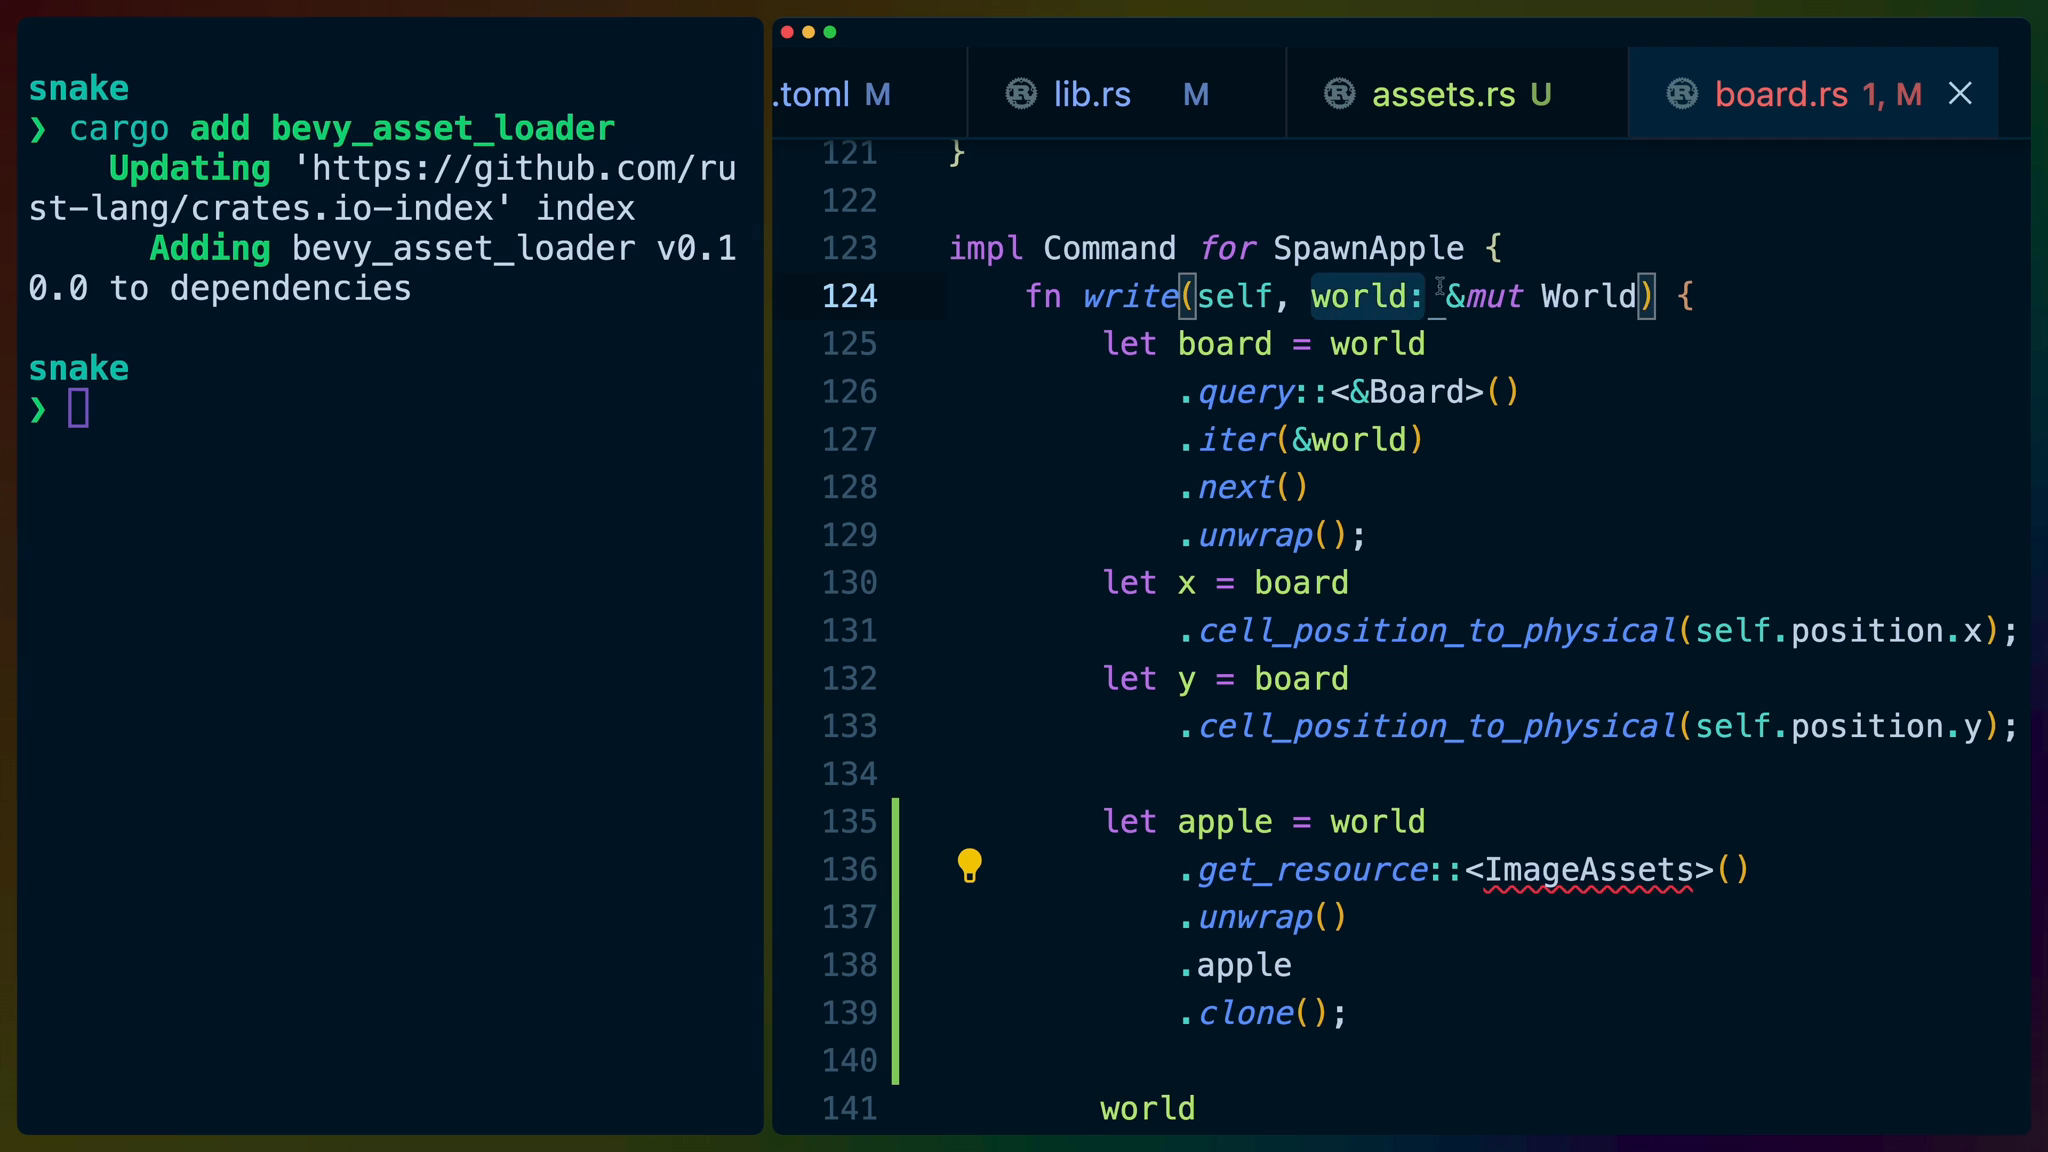
In board.rs we can retrieve the apple asset using the ImageAssets resource inside of our custom SpawnApple command.
let apple = world
    .get_resource::<ImageAssets>()
    .unwrap()
    .apple
    .clone();
Then when we spawn the apple entity, we can remove the color and insert the apple as a texture instead.
world
    .spawn()
    .insert_bundle(SpriteBundle {
        sprite: Sprite {
            custom_size: Some(Vec2::new(
                TILE_SIZE, TILE_SIZE,
            )),
            ..Sprite::default()
        },
        texture: apple,
        transform: Transform::from_xyz(x, y, 2.0),
        ..Default::default()
    })
    .insert(self.position)
    .insert(Food);
Which results in apples showing up on our game board!
Grass Tiles
The playing board could looks a little nicer too. We’ll replace the tiles with randomly distributed grass.
Add Res<ImageAssets> as an argument to spawn_board so we can access the grass texture atlas.
pub fn spawn_board(
    mut commands: Commands,
    images: Res<ImageAssets>,
) {
    ...
}
We can then replace the tile’s SpriteBundle in the with_children section with a SpriteSheetBundle. We set images.grass as the texture_atlas, also cloning it.
We use the same logic we used to select different tile colors to select the index of the sprite in the sprite sheet. This means we’ll get either sprite 0, or sprite 1.
SpriteSheetBundle {
    texture_atlas: images.grass.clone(),
    sprite: TextureAtlasSprite {
        index: (x as usize + y as usize) % 2,
        custom_size: Some(Vec2::new(
            TILE_SIZE, TILE_SIZE,
        )),
        ..TextureAtlasSprite::default()
    },
    transform: Transform::from_xyz(
        board.cell_position_to_physical(x),
        board.cell_position_to_physical(y),
        1.0,
    ),
    ..Default::default()
}
This is fine, but we can do better than alternating two tiles.

Back at the top of the function, set up a random number generator. We’re going to use a weighted distribution to randomly pick one of the three tiles to display.
The weights indicate that we have a 3/7 chance to select sprite index 0, a 3/7 chance to select sprite index 1, or a 1/7 chance to select sprite index 2.
pub fn spawn_board(
    mut commands: Commands,
    images: Res<ImageAssets>,
) {
    let board = Board::new(20);

    let mut rng = rand::thread_rng();
    let weights = vec![3, 3, 1];
    let dist = WeightedIndex::new(weights).unwrap();
    ...
}
We’ll need to bring WeightedIndex and Distribution into scope for this.
use rand::{
    distributions::WeightedIndex, prelude::Distribution,
};
Back in the index field for the TextureAtlasSprite we can sample the distribution to pick an index.
index: dist.sample(&mut rng),
This randomizes the three tiles in our set to bring out a more interesting playing board. Every time we spawn the board (which is every time we start the game again) we’ll get a brand new board look.