The Settings Button on our menu doesn’t currently do anything. Let’s make it display a secondary menu page that we can navigate to and back from to change user settings.
We’ll build up a new SettingsMenu component in ui/settings.rs.
Add the settings submodule to ui.rs and create the new settings.rs file.
mod button;
mod settings;
We’re going to re-use a bit of code from the original GameMenu for retrieving the green panel assets.
We’ll also use our button component again, with a slight twist on how we bring it into scope. Instead of using the module path from the crate root, we’ll use super, which puts us “one level up”, or in this case, into the ui module. Once our module path is in the ui module, we can continue down into the button as usual.
use bevy::prelude::{Res, World};
use kayak_ui::{
    bevy::ImageManager,
    core::{
        rsx,
        styles::{
            Corner, Edge, LayoutType, Style, StyleProp,
            Units,
        },
        widget, Color, EventType, Handler, OnEvent,
        WidgetProps,
    },
    widgets::{NinePatch, Text},
};

use super::button;
use crate::assets::ImageAssets;
We’ll accept a single prop in our SettingsMenuProps: a handler that we can trigger to go from the settings menu back to the main menu.
We’ll construct this handler in the GameMenu widget and pass it to the SettingsMenu widget so that the SettingsMenu widget doesn’t have to know anything about the implementation of the handler.
the handler accepts a (), or “unit” argument since we’re not passing anything important in.
#[derive(WidgetProps, Clone, Debug, Default, PartialEq)]
pub struct SettingsMenuProps {
    pub back: Handler<()>,
}
Then we get to the SettingsMenu widget itself. The container_styles, green_panel, and container code are all copied from the original GameMenu widget and do the same job.
#[widget]
pub fn SettingsMenu(props: SettingsMenuProps) {
    let container_styles = Style {
        border_radius: StyleProp::Value(Corner::all(15.0)),
        background_color: StyleProp::Value(Color::WHITE),
        bottom: StyleProp::Value(Units::Stretch(1.0)),
        height: StyleProp::Value(Units::Pixels(500.0)),
        layout_type: StyleProp::Value(LayoutType::Column),
        left: StyleProp::Value(Units::Stretch(1.0)),
        padding: StyleProp::Value(Edge::all(
            Units::Stretch(1.0),
        )),
        right: StyleProp::Value(Units::Stretch(1.0)),
        row_between: StyleProp::Value(Units::Pixels(20.0)),
        top: StyleProp::Value(Units::Stretch(1.0)),
        width: StyleProp::Value(Units::Pixels(360.0)),
        ..Default::default()
    };

    let green_panel = context
        .query_world::<Res<ImageAssets>, _, _>(|assets| {
            assets.green_panel.clone()
        });

    let container = context
        .get_global_mut::<World>()
        .map(|mut world| {
            world
                .get_resource_mut::<ImageManager>()
                .unwrap()
                .get(&green_panel)
        })
        .unwrap();
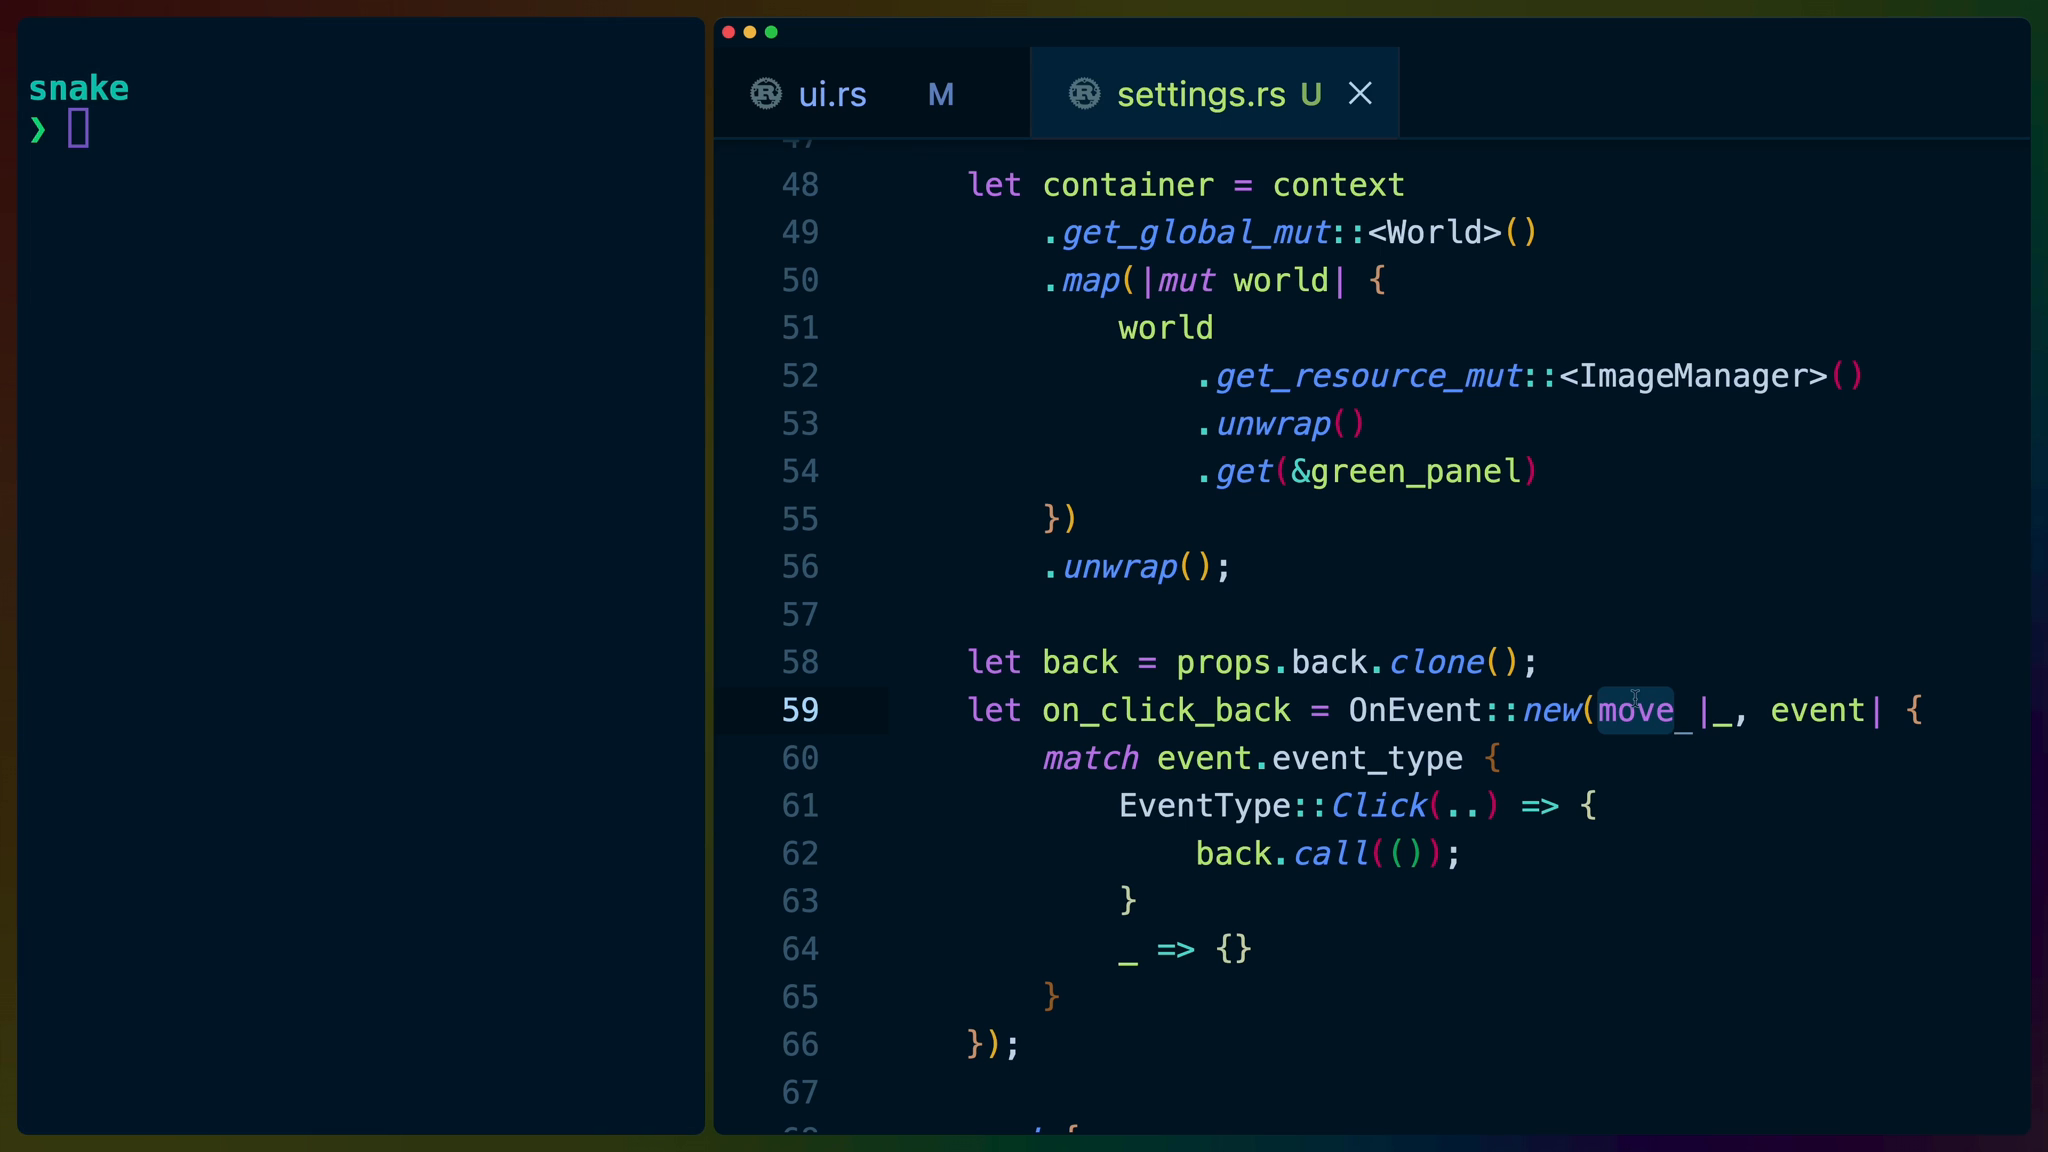
Then we clone the back handler from the props because we need to move it into our event handler. Remember, we’re doing this because the event handler will outlast the function we’re defining it in, so we also need to give it a copy of the back handler that it can take with it.
Inside of our event handler we call the back handler using back.call(()) passing in unit as the argument.
Finally we apply everything we’ve set up in the same ways we have before.
    let back = props.back.clone();
    let on_click_back = OnEvent::new(move |_, event| {
        match event.event_type {
            EventType::Click(..) => {
                back.call(());
            }
            _ => {}
        }
    });

    rsx! {
        <NinePatch
            styles={Some(container_styles)}
            border={Edge::all(10.0)}
            handle={container}
        >
            <button::SnakeButton
                on_event={Some(on_click_back)}
                >
                <Text
                    size={20.0}
                    content={"Back".to_string()}
                />
            </button::SnakeButton>
        </NinePatch>
    }
}
Switching Menus
Back in ui.rs we still need to set up the logic to handle swapping between the two menus.
We’ll create a new enum to represent which menu we’re supposed to be showing at a given time.
#[derive(Debug, Clone, PartialEq, Eq)]
enum Menu {
    Main,
    Settings,
}
Inside of the GameMenu widget, we’ll use the use_state! macro to initialize some state and create a setter function. The third element in the tuple that we’re ignoring is the raw binding which we don’t need in this case.
We use the set_menu_state updater function to create a new Handler that we’ll use as the back handler in our settings menu.
let (menu_state, set_menu_state, ..) =
        use_state!(Menu::Main);

    let set_menu = set_menu_state.clone();
    let set_menu_to_main = Handler::new(move |_| {
        set_menu(Menu::Main);
    });
We also need to update our on_click_settings event handler to change the state of the currently selected menu to Menu::Settings. Again, we’re cloning the variables we need to move into the closure because the event handler outlives the current function and our variables need to as well.
let set_menu = set_menu_state.clone();
let on_click_settings =
    OnEvent::new(move |_, event| {
        match event.event_type {
            EventType::Click(..) => {
                set_menu(Menu::Settings);
            }
            _ => {}
        }
    });
We’ll also create two new boolean values for determining which menu should be shown
let show_main_menu = menu_state == Menu::Main;
let show_settings_menu = menu_state == Menu::Settings;
This leads us into updating the rsx to use more If widgets to conditionally render each of the menus based on their respective showvariable.
We pass the set_menu_to_main handler as the back prop on the SettingsMenu.
rsx! {
    <If condition={show_menus}>
      <If condition={show_main_menu}>
         ...
      </If>
      <If condition={show_settings_menu}>
          <settings::SettingsMenu
              back={set_menu_to_main}
          />
      </If>
    </If>
}
If we cargo run now we have a new menu that appears when we click the Settings button, as well as a back button to return us to the main menu.
Further Work
To solidify your understanding of widget creation, you can create a GreenPanel widget using the code we’ve copy/pasted across both of our menus. Then use it to clean up the code in both menus.
If you have any trouble doing this, feel free to ask questions in discord.