How to start a new Bevy Project
In our case, we’re going to use a starter repository specifically prepared with the assets we’re going to use: rust-adventure/flappy-bird. You can clone the repository, download a zip from the website, or use one of the following tools like the Bevy CLI.
The Bevy CLI is the quickest way to start a new Bevy project and provides some really nice benefits if you want to deploy your application to the web later. If you want to install it, check out the instructions in the repo.
The Bevy CLI uses cargo-generate behind the scenes to scaffold new projects, so we can use the starter project from the rust-adventure organization, in the flappy-bird repo, on the branch bevy-0.18-starter using the following command. The very last flappy-bird is the directory this project will be scaffolded into.
bevy new -t rust-adventure/flappy-bird --branch bevy-0.18-starter flappy-birdThe output should look something like this.
🔧   Destination: /rust-adventure/flappy-bird ...
🔧   project-name: flappy-bird ...
🔧   Generating template ...
[1/8]   Done: .gitignore
[2/8]   Done: Cargo.toml
[3/8]   Skipped: assets/background_color_grass.png
[4/8]   Skipped: assets/bevy-bird.png
[5/8]   Skipped: assets/pipe.png
[6/8]   Done: assets
[7/8]   Done: src/main.rs
[8/8]   Done: src
🔧   Moving generated files into: `/rust-adventure/flappy-bird`...
🔧   Initializing a fresh Git repository
✨   Done! New project created /rust-adventure/flappy-bird
If you don’t want to install the Bevy CLI, you can instead use cargo to start a new Cargo project. You’ll have to pay closer attention to the rest of the code in this lesson if you use cargo new, since it will be a very minimal project.
Run:
cargo new flappy-birdand then add Bevy as a dependency.
cd flappy-bird
cargo add bevy@0.18.0
Overview of the project
Whether you chose the Bevy CLI or Cargo, the project will end up looking similar.
src/main.rs is our bootstrapped application, which
- brings the Bevy prelude into scope
- creates a new
App - adds the
DefaultPluginsto theApp - runs the game
use bevy::prelude::*;

fn main() -> AppExit {
    App::new().add_plugins(DefaultPlugins).run()
}
The App::run function will block the execution of the main function, and eventually return an AppExit when the program finishes; such as when the user quits the game.
The Bevy Prelude
“A prelude” is a fairly common concept in Rust. A Prelude is a convention where library authors tend to put the “80% of stuff you’ll likely need” to make it available to bring in to scope at the same time. What is in the prelude is up to the author of the project, so some preludes include everything and some projects don’t have preludes. Bevy’s prelude includes most, but not all, of the structs and other tools you’ll want to make use of in an average Bevy project.
use bevy::prelude::*;App
We can use the App type to set up a new Bevy application with plugins and systems.
The style of API used here is called a builder API, which lets us chain more and more configuration onto our App. That’s why we can call App::new(), followed by App::add_plugins() followed by App::run().
App::new()returns the newAppwith a default configurationApp::add_plugins()returns&mut App, which allows us to call more of theAppfunctionsApp::runfinishes the builder off and kickstarts the application
The add_plugins function adds DefaultPlugins to the application. Bevy has many features, and DefaultPlugins is a group of plugins that will include or exclude plugins based on which of those Cargo features is enabled. This includes window management, 2d and 3d apis, asset management, and more.
Cargo toml
If you used the Bevy CLI, the Cargo.toml will have a number of configurations. The important part for us is the Bevy dependency. Everything else is optional and serves to make the experience a bit nicer. Feel free to read through them as they are all commented; Here is the link to the git repo if you didn’t use the Bevy CLI.
[package]
name = "flappy-bird"
version = "0.1.0"
edition = "2024"

[dependencies]
bevy = "0.18.0"
gitignore
If you used the template, there is a .gitignore file that contains a single entry:
/targetThe target directory is a place where build artifacts go, so we don’t want to commit it to git.
Running the game
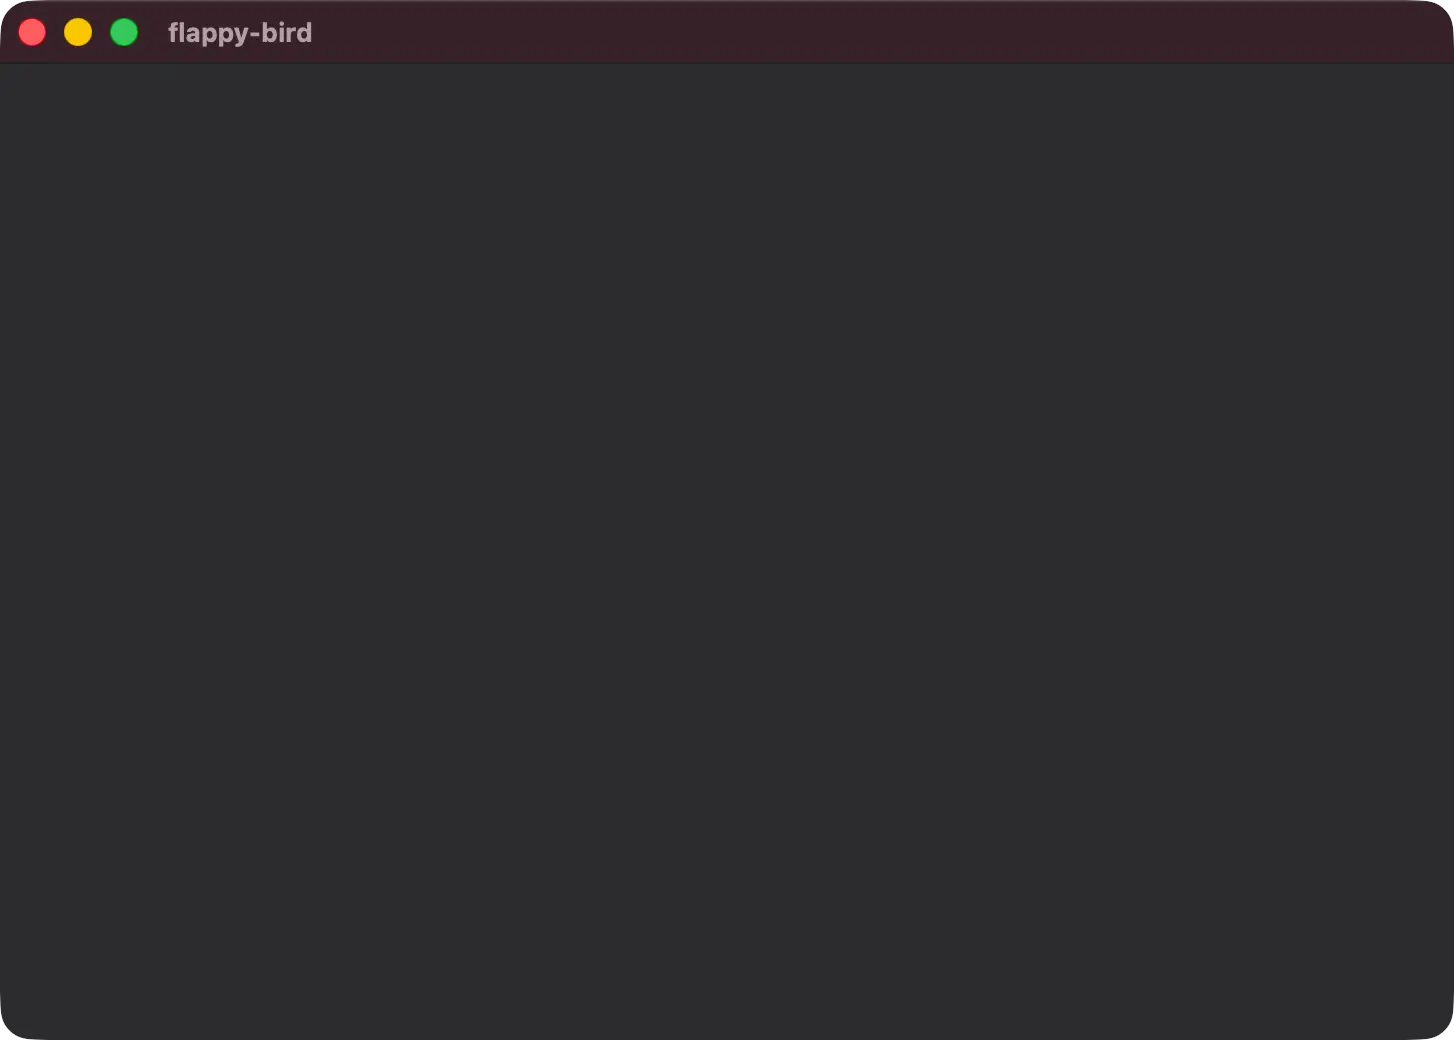
If you’re using the Bevy CLI, you can use bevy run to run the game now.
bevy runHere’s what the output looks like on an M1 Mac. Notice that Bevy prints a number of diagnostics including how much RAM your computer has, which GPU and backend are being used, and more.
   Compiling flappy-bird v0.1.0 (/rust-adventure/flappy-bird)
    Finished `dev` profile [optimized + debuginfo] target(s) in 3m 45s
     Running `target/debug/flappy-bird`
2026-01-11T05:05:24.598616Z  INFO bevy_diagnostic::system_information_diagnostics_plugin::internal: SystemInfo { os: "macOS 26.0.1", kernel: "25.0.0", cpu: "Apple M1 Max", core_count: "10", memory: "64.0 GiB" }
2026-01-11T05:05:24.652328Z  INFO bevy_render::renderer: AdapterInfo { name: "Apple M1 Max", vendor: 0, device: 0, device_type: IntegratedGpu, driver: "", driver_info: "", backend: Metal }
2026-01-11T05:05:24.797567Z  INFO bevy_render::batching::gpu_preprocessing: GPU preprocessing is fully supported on this device.
2026-01-11T05:05:24.824837Z  INFO bevy_winit::system: Creating new window flappy-bird (0v0)
If you’re using cargo you can use cargo run. The rest of the workshop will only mention bevy run.
note
Note that running the game will create a Cargo.lock, which records the dependency configuration you used. Feel free to take a look inside, since it is a TOML file and is human-readable.
People typically commit these Cargo.lock files to their repository when developing applications, but not when developing libraries.