Startup Systems, Camera2ds, and Sprites
With a scaffolded, running Bevy application there’s not much on screen. To be able to render anything, we need to spawn an Entity with a Camera Component because Cameras define what is in view and where to render the output. For example, a Camera can use the Window or an arbitrary Image as a render target for output.
A Startup System
Every frame Bevy runs systems in groups called schedules but not all schedules run every frame. One useful schedule that doesn’t run every frame is the Startup schedule, which runs once when the App starts up for the first time. This means we can add a system to the Startup schedule to spawn a Camera when the application starts up.
use bevy::prelude::*;

fn main() -> AppExit {
    App::new()
        .add_plugins(DefaultPlugins)
        .add_systems(Startup, startup)
        .run()
}

fn startup(mut commands: Commands) {
    commands.spawn(Camera2d);
}
We can add systems to a Schedule by taking advantage of the builder APIs on the App type. App::add_systems allows us to specify one or many systems to add to a given schedule. In this case we’re adding a system named startup to the Startup schedule. Our system can have any name, feel free to play around and name it anything you want to, but the schedule name is specific; It has to be the Startup struct.
What are Systems
A System can be a regular function, which is how we define our startup system. These Systems can be added to any number of schedules, which controls when they’ll run within each frame.
note
The Main Schedule documentation contains a list of some common Schedules to add systems to.
Since systems are executed by Bevy, we also get to take advantage of dependency injection to ask Bevy to give us whatever data we need. The arguments of our function will be handed to each system as it runs, which is a core way Bevy knows when to schedule systems relative to each other.
Commands is one of the injectable params, which we call SystemParams. We can query the state of the world and many more using these SystemParams.
Commands in particular is how we create new items in the global World state, such as spawning new Entitys.
Spawning a Sprite
We’re already using Commands::spawn to spawn a Camera. What we mean when we say “spawn a Camera” is that we’ve created a new Entity and added the Camera Component to it. Systems operate on this Component data by querying it, so by adding the data to a live Entity, systems inside Bevy that handle rendering our application will find the Camera data and use it to perform the actual rendering.
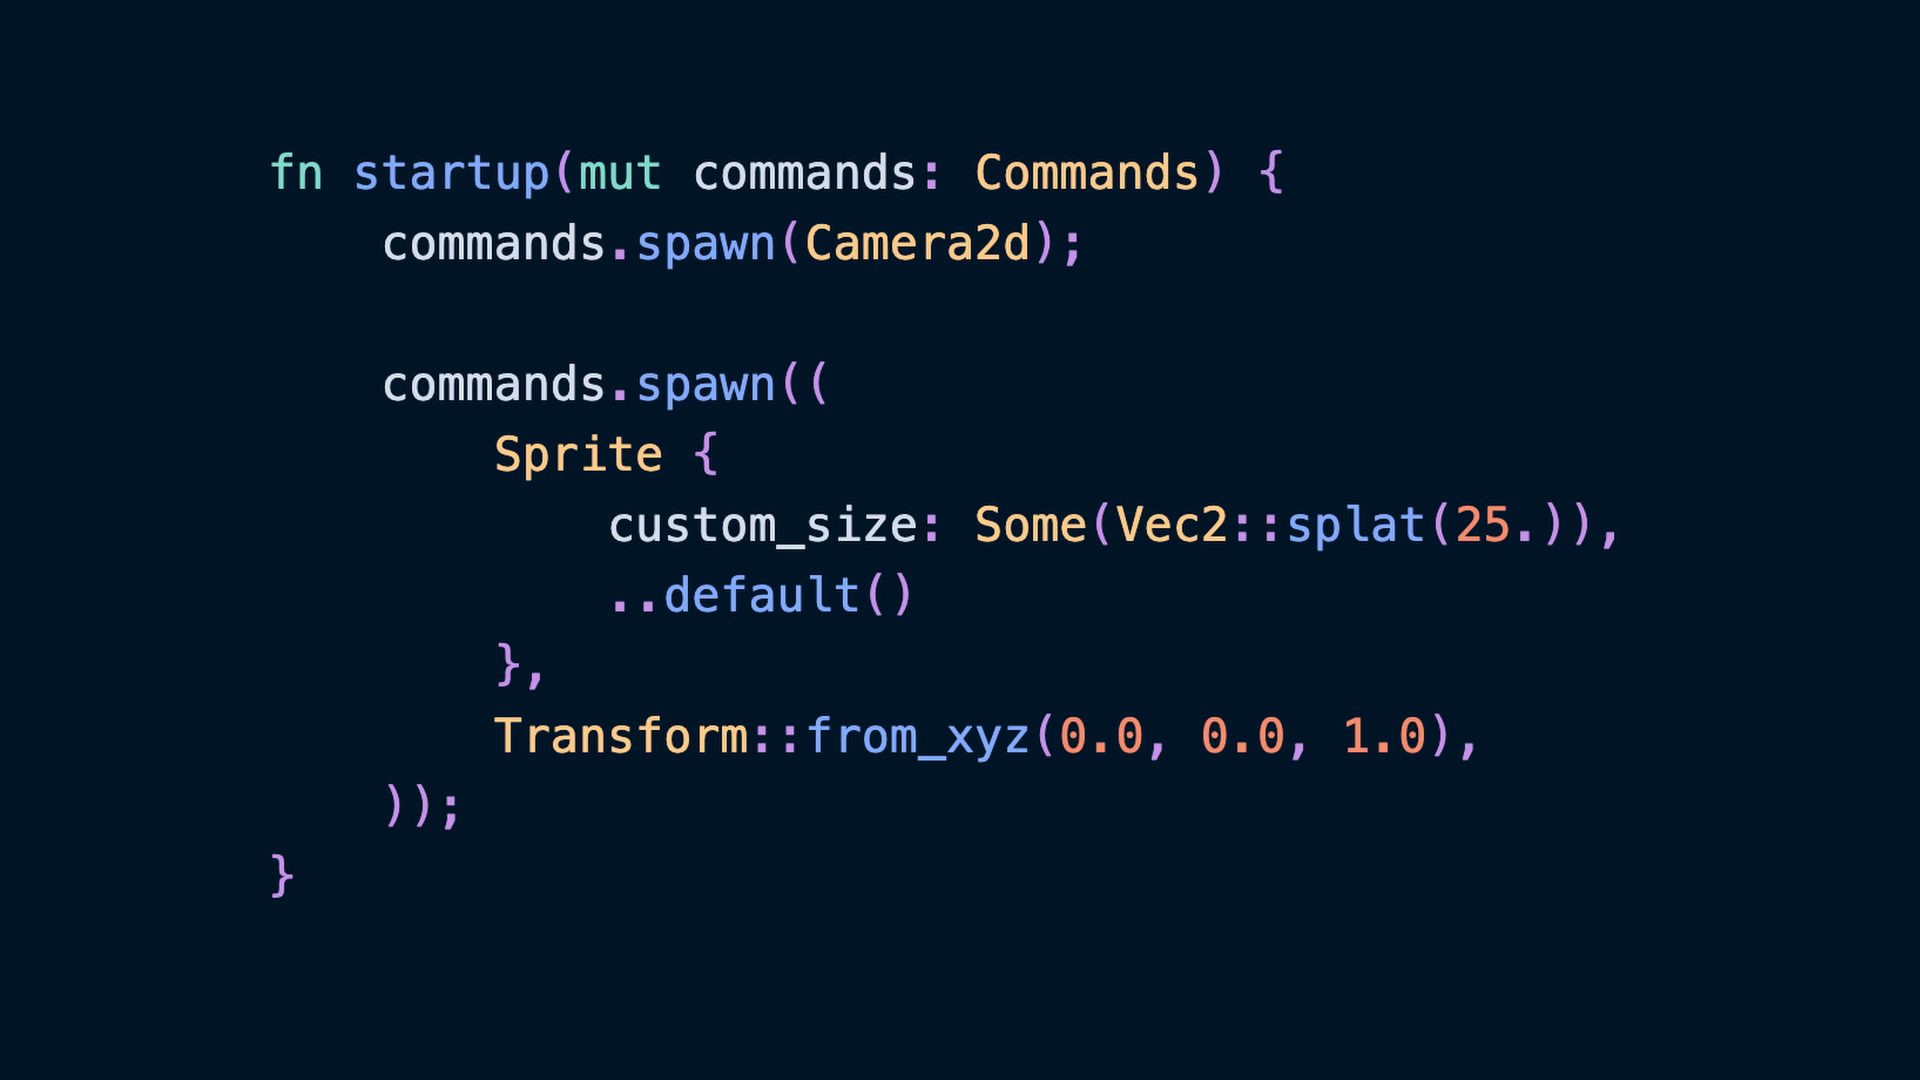
We’ll use another spawn call to create another Entity with a Sprite Component. This will eventually represent our player’s character using an image, but for now we’re just blocking out the space.
fn startup(mut commands: Commands) {
commands.spawn(Camera2d);
commands.spawn((
Sprite {
custom_size: Some(Vec2::splat(25.)),
..default()
},
Transform::from_xyz(0.0, 0.0, 1.0),
));
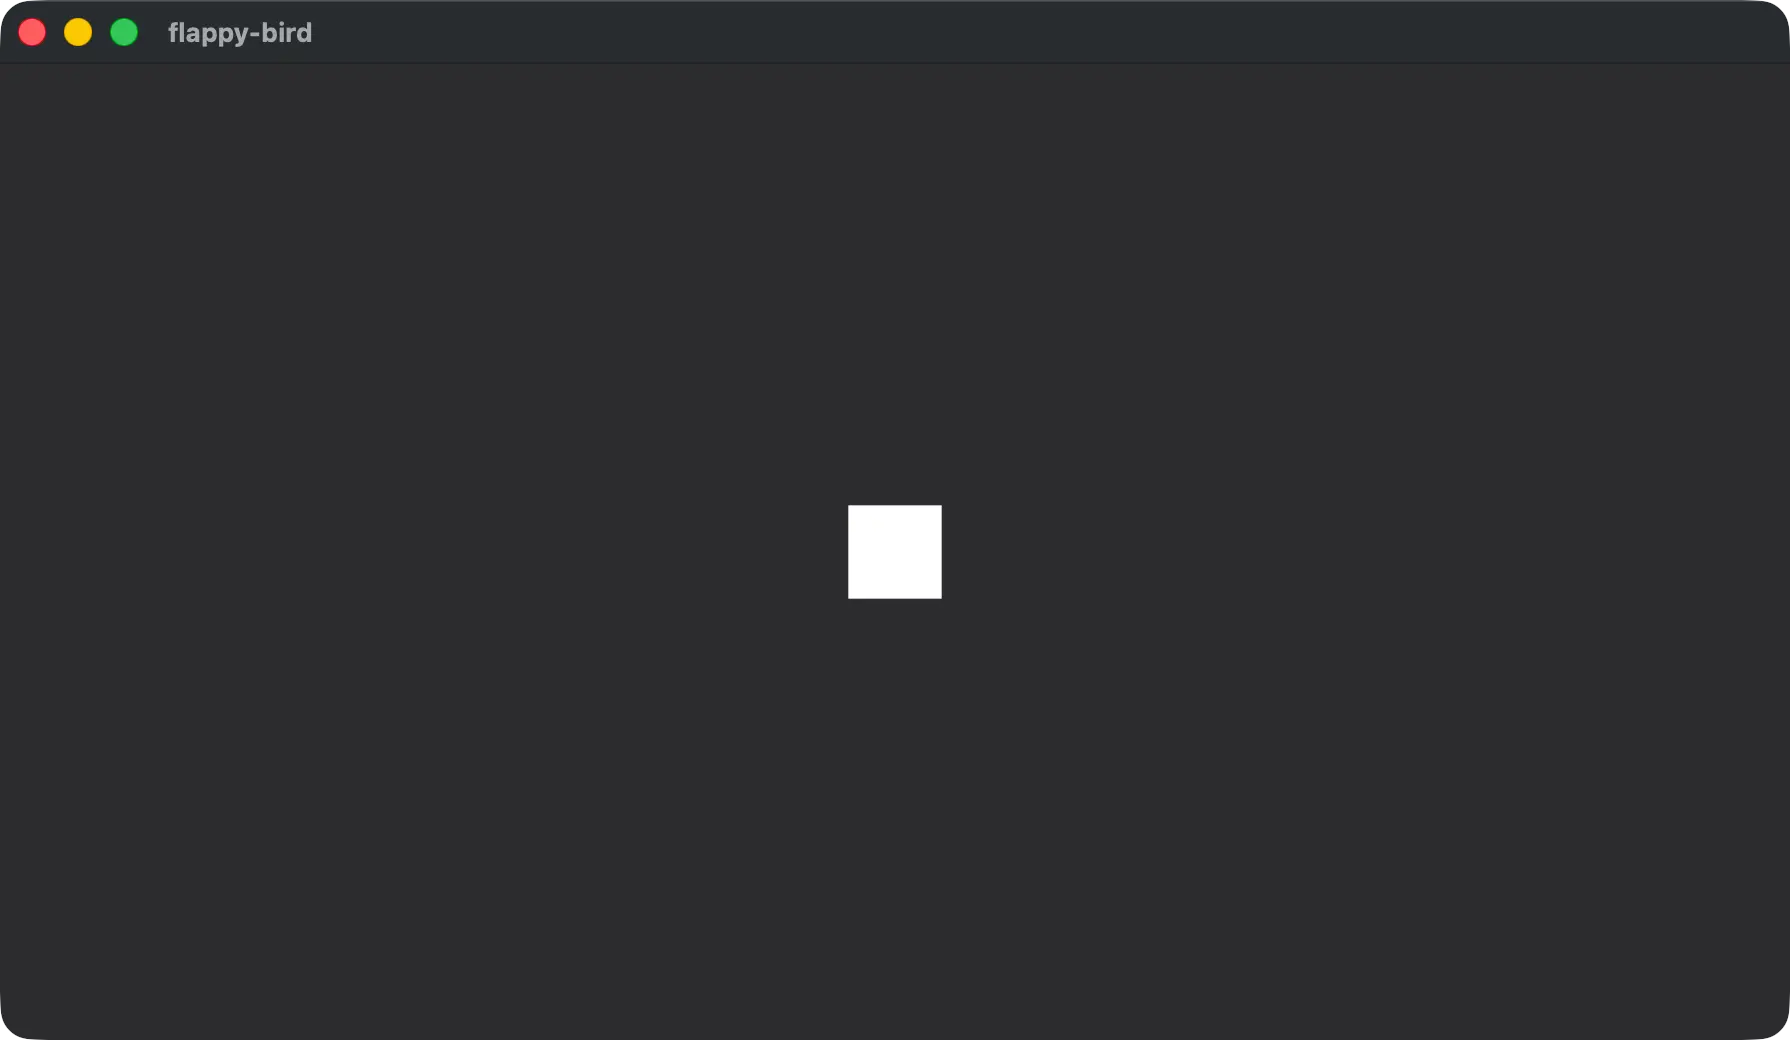
}This gives us something on screen to see, which helps confirm that we’ve spawned our Camera in correctly.
We take advantage of two new Components: Sprite and Transform. Sprite is a Component that contains useful information for rendering an image in a 2d environment. This is how we provide the necessary data to Bevy’s rendering Systems. We also use Transform, which provides the data for positioning an Entity in world-space. Note that our Transform is constructed from an x,y,z value, and is 3 dimensional even though we’re working in 2d. You can treat the z value as similar to a z-index. This is a value that determines what “layer” a Sprite will be on compared to other Sprites and thus whether it is in front of or behind another Sprite.
Canvas Size
If you resize the window now, the size of the square box sprite we spawned doesn’t change. This is because making the window wider or narrower is showing more or less of the game’s world space. It would be nice to have a deterministic size for our game so that we know that when the window is resized, the sprites in our game will still be positioned where we want them.
To do this, we can set the Projection Component’s ScalingMode.
We’re going to use a 16:9 aspect ratio that exactly scales to other common resolutions: 480 x 270. This matches 1080p and 4k resolutions when multiplied by integers which means if someone full-screens our game on a typical monitor we can expect it to scale well.
- (480, 270) * 4 = (1920, 1080)
- (480, 270) * 8 = (3840, 2160)
The ScalingMode we’re using comes from bevy::camera::ScalingMode. Change the use item bringing bevy::prelude::* items to also bring in the ScalingMode enum in the camera module.
use bevy::{camera::ScalingMode, prelude::*};Then we’ll use it in the Projection Component alongside our Camera2d. The Projection Component is an enum that would allow us to use Perspective, Orthographic, or Custom projections for our camera. The OrthographicProjection is what we get by default using the Camera2d Component, so we’ll keep using that and set the max width and height to 480x270.
commands.spawn((
    Camera2d,
    Projection::Orthographic(OrthographicProjection {
        scaling_mode: ScalingMode::AutoMax {
            max_width: 480.,
            max_height: 270.,
        },
        ..OrthographicProjection::default_2d()
    }),
));
For any fields we haven’t set, we’ll default to the default_2d values.
This results in a larger square, even though we haven’t changed the world space size.
When resizing the window now, our aspect ratio remains intact. There are some other ScalingMode variants other than AutoMax that can be used, which can be more or less appropriate in different circumstances. You might want to try FixedHorizontal for example!
A Sprite Image
Currently we only have a white square for our player. We’ll change that to be a variation of the Bevy logo, since this is Flappy Bird and the Bevy logo is… birds.
If you used the template at the beginning of the workshop you will already have the assets in your assets/ directory at the root of your project. If you didn’t, go get them now from the repository.
These assets will include 3 .png files:
background_color_grass.pngbevy-bird.pngpipe.png
Your file structure should look like this:
❯ tree . -I target
.
├── assets
│   ├── background_color_grass.png
│   ├── bevy-bird.png
│   └── pipe.png
├── Cargo.lock
├── Cargo.toml
└── src
    └── main.rs
The bevy-bird.png file will be the first asset we use. We’ll put it on the Sprite we created earlier.

Loading the file will require using the AssetServer. The AssetServer is stored in a Resource that we can ask for in our Systems.
fn startup(
    mut commands: Commands,
    asset_server: Res<AssetServer>,
) {
  ...
}
We’ll use the AssetServer::load function to load the bevy-bird png. This function will not block our program while loading, but it will give us a Handle to the asset that we can use with the Sprite. A Handle is an id that we can use to identify specific assets after loading them.
Use the image field with the Handle returned from load to render the bevy-bird. The load function takes a path that starts at the root of our assets/ directory, which means we don’t need to use assets as a prefix.
commands.spawn((
    Sprite {
        custom_size: Some(Vec2::splat(25.)),
        image: asset_server.load("bevy-bird.png"),
        ..default()
    },
    Transform::from_xyz(0.0, 0.0, 1.0),
));
You can use bevy run to see the bird rendered in the application now.
bevy run